


 Print
Print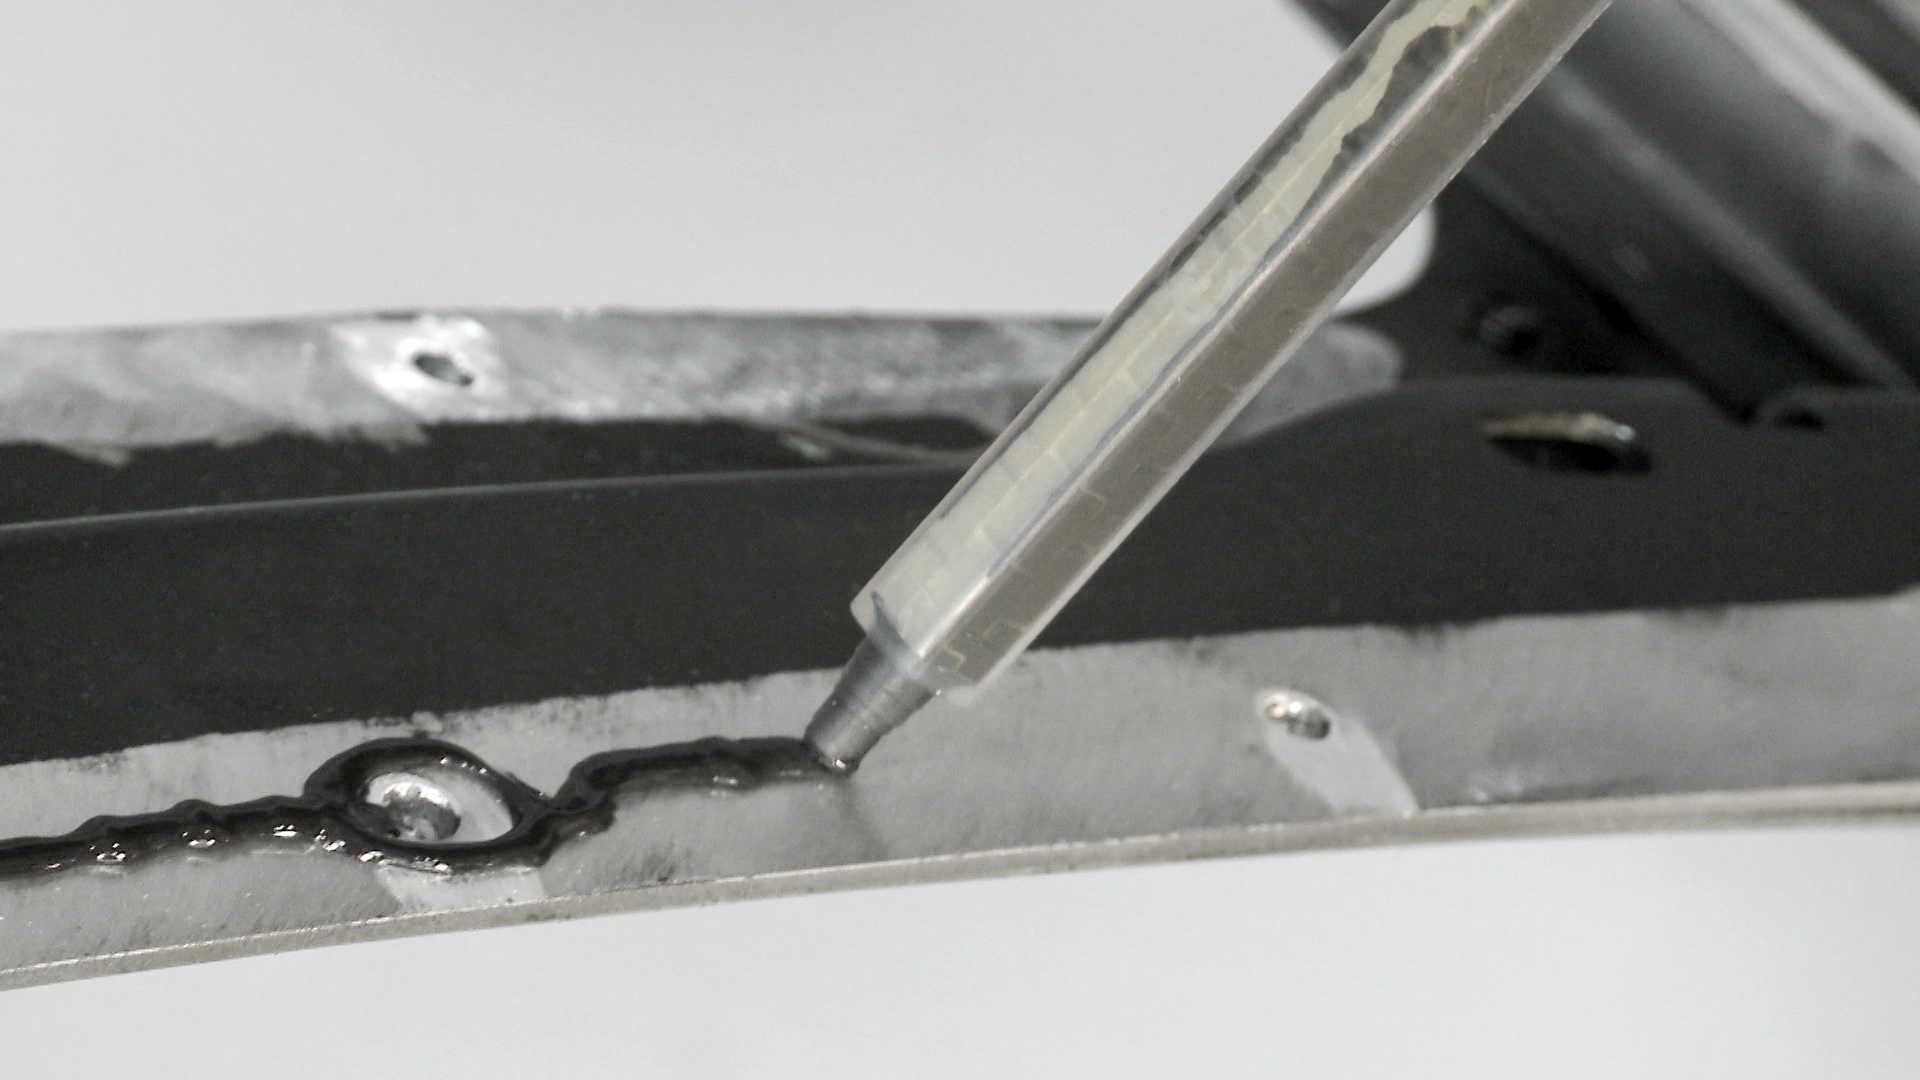
Sometimes, going back to the basics can make the difference between a quality repair and a failed repair. When it comes to adhesives, it is important understand the product you are using, and how it is supposed to be used.
It is important to follow standard operating procedures (SOPs) when attaching panels with adhesive, as there are many different types of adhesive that are made to function in different ways. In order to know how to prep and apply adhesive to body panels, follow the vehicle maker’s procedures when using a vehicle maker’s private label adhesive. When using an adhesive that is not private labeled by the vehicle maker, but is from the adhesive maker, follow the adhesive maker’s procedure for doing a repair. This means that if a specified adhesive is not listed by the vehicle maker in the manual, use an adhesive that is appropriate for the repair being done, and follow the directions that come with the adhesive on how to prep the panel and apply the product.
Some information that you will find in these standard operating procedures that will affect the functionality of the adhesive are:
- Whether the flange or mating surface needs to be bare metal or primed/coated
- Sanding grit needed if the flange should be sanded prior to application
- Recommended cleaners to use before application
- Clamp time and curing time
- Leveling the cartridge plungers
These instructions, whether from the vehicle maker or the adhesive maker, ensure that the adhesive will function as intended. Also keep in mind some things that may cause failure in the adhesive are:
- Lifting the panel after it has been placed in the adhesive
- Using expired material in the cartridges
Additional I-CAR Collision Repair News you may find helpful:
- Common Mistakes: Leveling Plungers
- Honda/Acura Service Bulletin: Seam Sealers and Adhesives
- Metal Panel Bonding on General Motor’s Vehicles
Related I-CAR Courses
Article validated in 2025