Sometimes, going back to the basics can make the difference between a quality repair and a failed repair. When it comes to comparative measuring, there are a few things to remember.
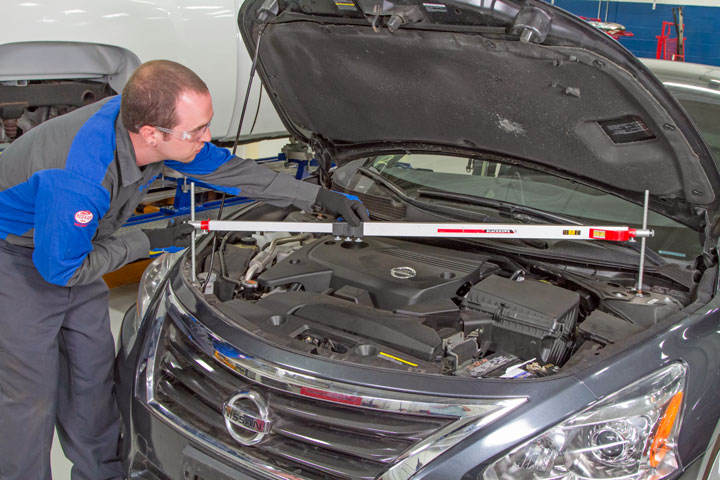
Vehicles are typically designed to be symmetrical side-to-side. Minor damage to a side of a vehicle may not appear different from the other side by looking at it. Tools like tram gauges and three-dimensional measuring equipment allow a technician to measure certain points on a vehicle and compare those points to the undamaged portion of the vehicle. For example, these points could be access holes in a frame, bolt holes, a pinchweld flange, etc. Some point-to-point measurements can be found in the vehicle-specific body repair manual but are usually limited to closure panel openings and the underbody.
Comparative measurements can also be an invaluable tool for when measurements are not readily available from the OEM or an equipment manufacturer. However, it is important to note, when making comparative measurements you have to understand that a few points on the vehicle may not be the same side-to-side. When this occurs, there may be additional measurements required to verify if there is damage at the measuring point, or just an asymmetrical point on the vehicle.
Related I-CAR Courses
theArticle validated in 2025


 Print
Print