


 Print
Print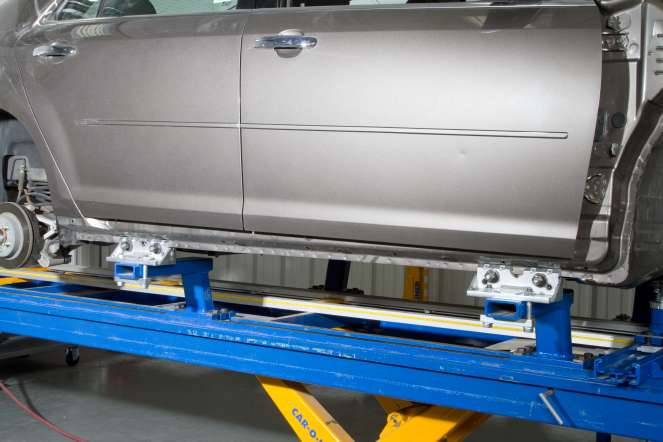
Sometimes, going back to the basics can make the difference between a quality repair and a failed repair. When it comes to anchoring with pinchweld clamps, there are a few basics to keep in mind.
It is important to check the configuration of the pinchweld flange early in the repair process. Some vehicles do not have a pinchweld flange, and others have a pinchweld flange that is too small for a traditional pinchweld clamp. In those cases, check with your frame straightening equipment manufacturer for more information on their adapters and potential vehicle-specific adapters.
A commonly overlooked operation before anchoring the vehicle is the removal of seam sealer and undercoating from where the pinchweld clamp will be placed. If seam sealer or undercoating is left in the area, not only will it plug the teeth of the clamp, but it may also allow the vehicle to slip in the clamps. This could also result in an incorrect measurement due to the vehicle shifting.
Before attaching pinchweld clamps, always check the backside of the pinchweld for other parts such as fuel lines, brake lines, or wiring harnesses that may require removal or relocation.
Lastly, remember that after removing the pinchweld clamps, seam sealer and undercoating must be reapplied to restore appearance and corrosion protection. Also, if any of the paint was removed or damaged, it should be repaired or refinished.
Related I-CAR Courses
Original article published September 16, 2015
Article validated in 2025